QR codes first took off in 2010. Since then, millions of people scan them today for different purposes. You can add QR codes to your site and allow users to download files, get in touch with you, open your store’s location in Google Maps, get coupons, and more.
In this article, we will show you how to generate and add QR Codes in WordPress.
The simplest way of generating and adding QR codes in WordPress is by using a WordPress plugin like Shortcodes Ultimate.
It’s a WordPress plugin that lets you create buttons, boxes, sliders, carousels, QR codes, and much more through shortcodes. There are over 50 shortcodes to choose from, and they work with any WordPress theme.
There’s also a Shortcodes Ultimate Pro version that offers premium addons and unlocks more shortcodes that you can use on your website. However, for this tutorial, we’ll be using the free plugin because it includes the QR code feature.
First, you’ll need to install and activate the Shortcodes Ultimate plugin. For more details, please see our guide on how to install a WordPress plugin.
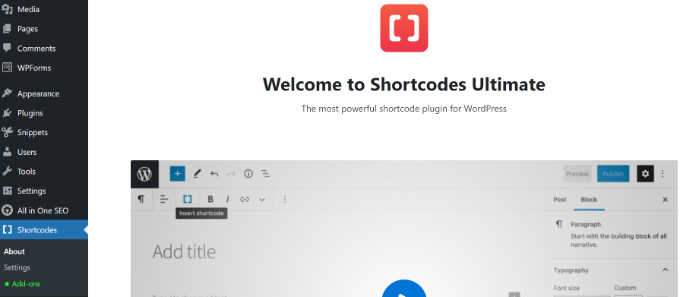
Upon activation, a new ‘Shortcode’ option will appear in your WordPress admin menu, and you’ll be redirected to the Shortcode Ultimate welcome screen
Next, you can edit any blog post or page on your website to add the QR code.
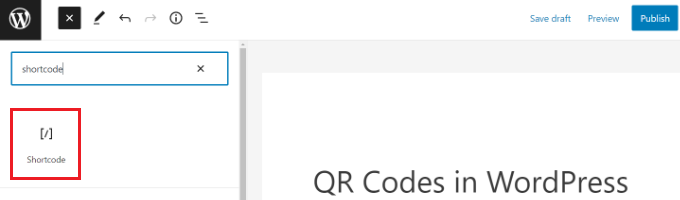
Once you’re in the WordPress content editor, go ahead and add a ‘Shortcode’ block anywhere in the content.
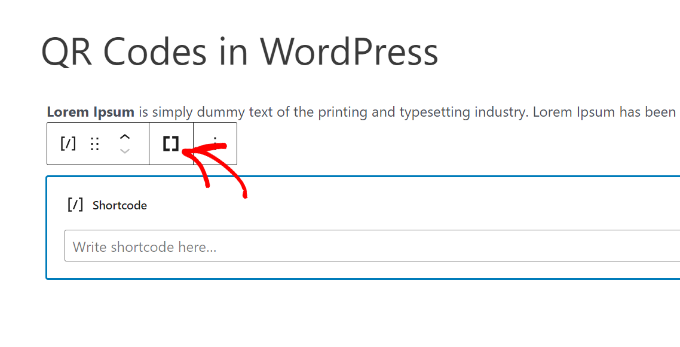
After adding the Shortcode block, you’ll see an ‘Insert shortcode’ option.
Simply click the double brackets icon to open the shortcode selector tool.
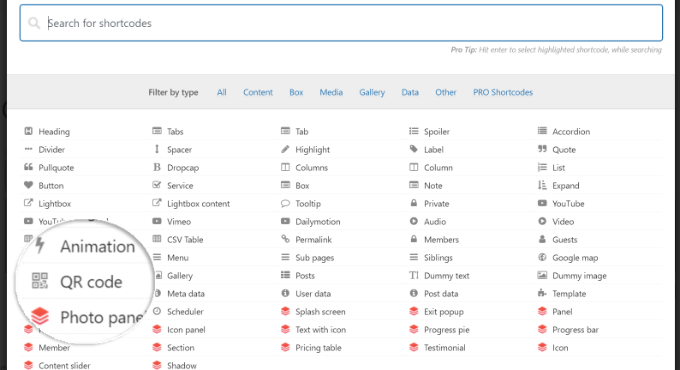
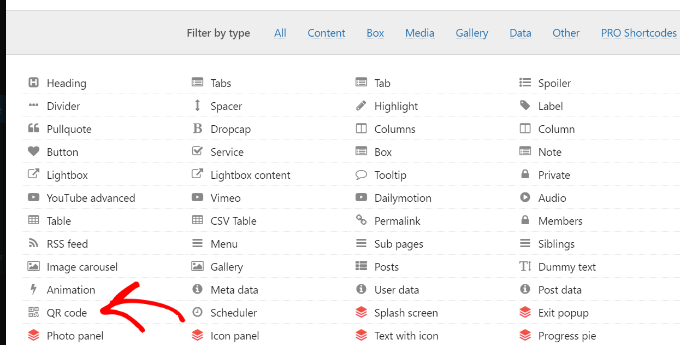
The plugin will now open a list of shortcodes you can use for your website.
Next, you can search or navigate to the ‘QR code’ shortcode option and click on it
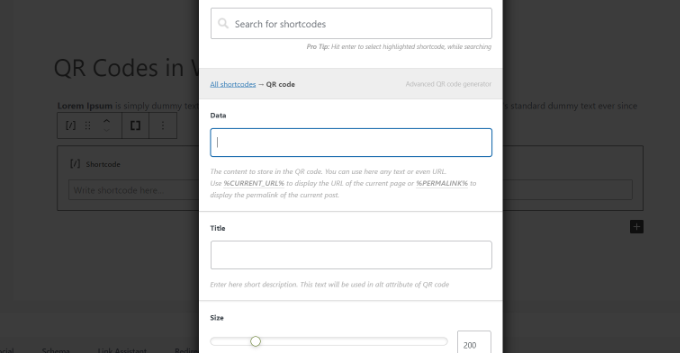
Once you click on the QR code shortcode option, the plugin will show more options to enter details about your QR code.
Under the ‘Data’ field, you can enter text, URL, discount codes, contact us form page, and any other information that you want the QR code to store.
Besides that, there is an option to enter the title for the QR code, which acts as an alt-text. You can even adjust the size of the QR code.
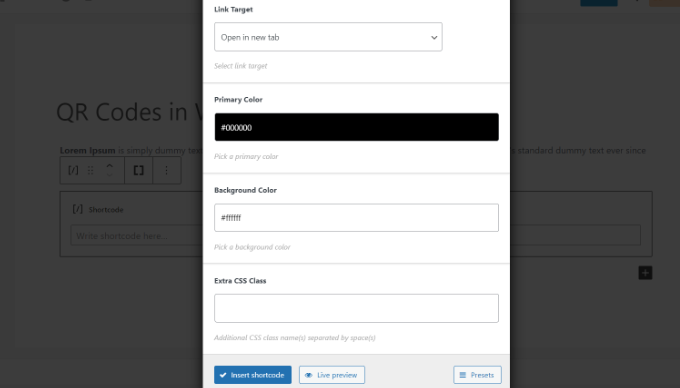
If you scroll down, you’ll see more options to customize your QR code.
You can change its alignment or margins, enter a link and make it clickable for website users, and more.
Other than that, there’s also an option to change the primary color and background color of the QR code. By default, they’ll be black and white, but you can change that to any color that you want
Once you’ve finalized the settings, you can see a live preview of how your QR code will look. Next, go ahead and click the ‘Insert shortcode’ button.
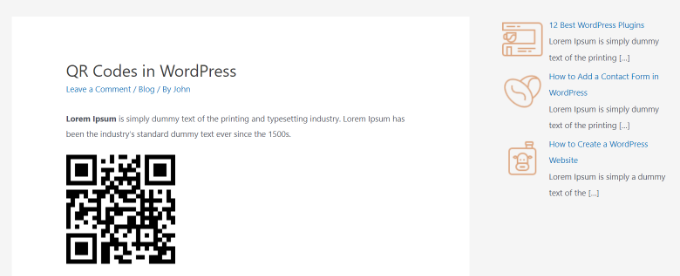
After that, publish your blog post or landing page and visit your WordPress website to see the QR code in action
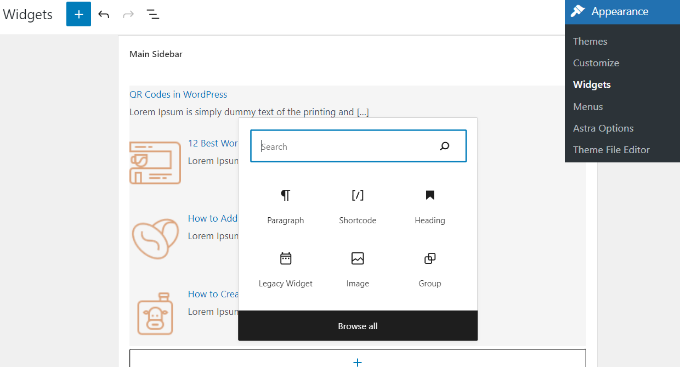
You can also add your QR code to the widgets area on your website, like the sidebar.
First, you’ll need to head over to the Appearance » Widgets page from your WordPress dashboard.
After that, add a ‘Shortcode’ widget block to your site’s widget area. It could be your main sidebar, header, or footer.
Next, you can click on the ‘Insert shortcode’ option (the double brackets icon), just like you did earlier when adding QR code to a WordPress blog post or page.
This will open different shortcodes that you can use for your site, including QR codes
You’ll see a list of shortcodes offered by the plugin.
Go ahead and select the ‘QR code’ shortcode
After clicking on QR code shortcode, you’ll find the options for customizing the QR code and adding the data it should store.
You can also change its size, adjust the margins, alignment, color, and more
Once you’re happy with the settings of your QR code, simply insert the shortcode to your widgets block.
After that, go ahead and click the ‘Update’ button.
You can now visit your website and see the QR code in the sidebar


0 Comments